


In October we are planning on a Disneyland visit for all of the Halloween festivities and what better way to prepare then to make a Tinkerbell costume for our little Lou. Ironically I'm going to be the larger version of Tinkerbell... so we can be matching... now I'll give you I may not be quite as cute as Lou but I'm still going to "bring it" Tinkerbell style. So this is just part one ... I'm still brainstorming on her wings and shoes... so you'll have to check back for all that fabulousness. :) Just a quick note... for the dress bodice I used the Viola Violette Field Threads Pattern . However... in the tutorial I will explain how to do a quick bodice without a pattern also if you don't want to buy a pattern. If you have never used this pattern before... it's amazing... I can make about a thousand different dresses from this pattern... by the way Violette Field threads does not in any way reward me for these thoughts :) as far as I know I'm sure they don't even know how much I adore this pattern or that I even exist... so you can take that to mean this pattern is truly life changing ;)
What you need:
2 Yards of your satin costume green
5 yards of green tulle
green thread
and a very wonky hand drawn leaf frond

If you are having problems with a leaf frond (i think that should be the word of the day... frond) let me know and I can upload my very unprofessional frond to be printed. If you are crazy brave and like to live on the wild side... measure from just above your littles belly button to your desired length on their leg and add about an inch for seam allowance. I cut out 10 of these pieces so when there are put tog I had 5 leaves total. Set these aside after you have cut them all out and grab your tulle. I used 5 yards but you could definitely use less or more depending on how poofy you want Tinkerbell to be. I think the easiest way to measure your tulle is keep it the way it was on the bolt or how the fabric lady cut it... so it should already be folded in half... from here add 3 inches onto you leaf frond measurement ... that will be your length and your width will just be however wide your tulle already is as it's folded in half... keep moving down your tulle until you have measured and cut all the way down your five yards...
at this point unfold all of your pieces and align them on top of each other like the picture below...

Then I took that pile and folded the edges together in half like the picture below... pinned the edges and sew a straight seam down the side. Next sew a long (4.5 if you have a digital sewing mating) straight stitch along the top of the fabric (should be a tube now that you have sewn down the side) to gather the top (to gather just pull one of the strings and push the fabric along it to gather the fabric). If you want a liner underneath your tulle... my girl is super picky about itchy tulle... So I just cut two rectangles slightly shorter than my tulle with the green costume satin used for the leaves and folded in half ... sewed a straight stitch up the side and gathered the top just like the tulle... set both of these aside for a sec...

Bodice:
If you have the viola pattern follow that exactly for the top half of the dress (front and back bodice, halter straps, and lengths of fabric for bow in back)
If not an easy bodice that will slip over her head... take her chest measurement add 2 inches... divide in half ... cut 4 pieces in these dimensions... grab some ribbon for straps and bow in back cut appropriate length for your little peanut ... take first two pieces of fabric place ribbon two to three inches out from center of fabric on top of right side facing fabric... place another piece of fabric right side down and pin together along the top so your ribbon is secure and both pieces are evenly lined up. Sew a straight stitch just along the top.... turn pieces right side out iron and press and that do a topstitch across the top to secure everything... do the same thing to your other two pieces of fabric obviously omitting the ribbon since this will be a halter top. At this point if you want a bow in the back cut two more pieces of ribbon long enough to be tied in a bow in the back... place bodice front right side up and place ribbon on both left and right sides facing into center... place back bodice right side down.... line everything up (side seams and ribbon in between)... pin down sides and and sew a straight stitch down both sides... your bodice should now be finished.

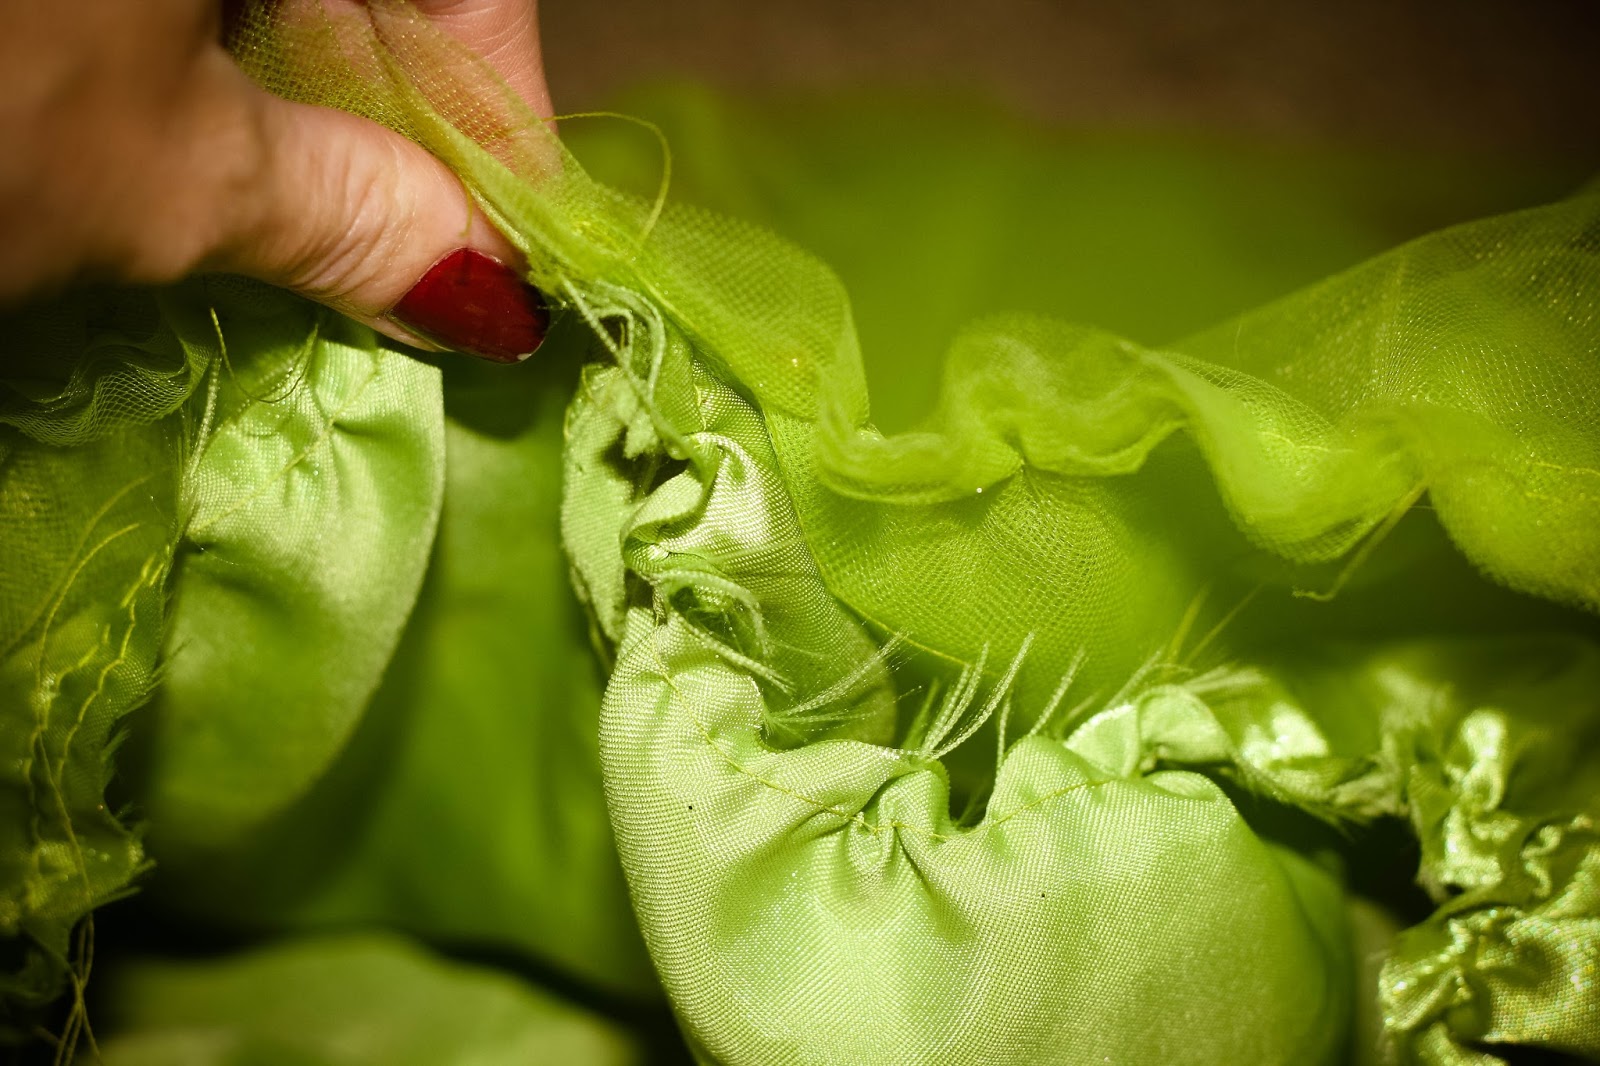
Now for the construction of the bottom half of the dress... sew your leaf fronds together with right sides facing each other... once sewn together turn right side out... now I don't know if you have this problem ... but costume satin and I have a love hate relationship ... love because she's cheap... hate because she's a real Bee-otch to work with... so that you don't throw your beloved sewing machine across the room at this point I found that if I topstitched around the outside of the leaf starting in the center like below... it kept the material from getting all wonky. Did I say topstitch around all five leaf fronds? I'm getting distracted :) ... make sure you do the topstitching ... I think it makes the fabric lay so much better.

Friends ... you are getting so close!! Bodice and leaf fronds done! Now just the skirt! So line up your tulle and liner (if you made one) make sure you have pulled the gathers tight enough so they line up with the width of the bodice.
Here's the tricky part .. if you get stumped put your helmet on ... bang your head against the wall a few times... slam a diet coke ... and reassess the situation... you have no idea how many seams I ripped out while experimenting with this dress :) but just keep in mind anything can be fixed... so on that note... with your tulle and liner together right sides out... slide your bodice right side down and upside down over the top of the skirt so that the top of skirt and the bottom of the bodice line up like below... I first pinned this together and then went back through with my leaves and slid them on top of skirt and below bodice so they are in between and lined up at top of skirt...

Pin the leaves spaced evenly and overlapping some depending on the size of your dress... once everything is pinned together sew along the top edge a straight stitch to secure all pieces. Flip your bodice up and topstitch on the outside of the bodice along the edge where it meets the skirt... you are D- O- N- E!!! Work it girl (or dude) ... your awesome and your little peanut is going to be totally adorbs!!

So definitely check back for shoes and wings coming soon! Thanks for stopping by and feel free to leave questions and comments! :)


No comments:
Post a Comment